Deploy a Ghost Blog on Fly.io
Fly.io is yet another Platform as a Service, you can think of it as a serverless and multi-regional Heroku.
It also offers a generous free plan:
- Up to 3GB of persistent volumes per organization
- Run 3 shared-cpu-1x VMs with 256MB RAM (the lowest) full time
- 160GB bandwidth per month
In practice, this is more than enough for hosting a low-traffic Ghost blog.
To get started, you need to install Fly’s command line tool first, then create an account and log in with the CLI:
flyctl auth loginCreate a new folder for this project:
mkdir my-blogcd my-blogThen create a fly.toml with the following contents:
app = "ghost-blog"kill_signal = "SIGINT"kill_timeout = 5processes = [][build] image = "ghost:4-alpine"[mounts] source="ghost-blog" destination="/var/lib/ghost/content"[env] url="https://ghost-blog.fly.dev"[experimental] allowed_public_ports = [] auto_rollback = true[[services]] http_checks = [] internal_port = 2368 processes = ["app"] protocol = "tcp" script_checks = [] [services.concurrency] hard_limit = 25 soft_limit = 20 type = "connections" [[services.ports]] handlers = ["http"] port = 80 [[services.ports]] handlers = ["tls", "http"] port = 443 [[services.tcp_checks]] grace_period = "1s" interval = "15s" restart_limit = 0 timeout = "2s"Be sure to replace ghost-blog with a custom app name, try to make it unique because it’s also used as the subdomain.
After that you need to create a persistent volume to store Ghost contents such as images, themes and the SQLite database:
fly volumes create ghost-blog --size 1The [mounts] source section defines the name of the persistent volume you wanna bind this app to, here I have set it to ghost-blog, the one created by the above command.
Now everything is ready, you can run fly deploy to deploy this website. When it’s successfully deployed, you can visit ghost-blog.fly.dev/ghost (or your custom app name) to create an admin user.
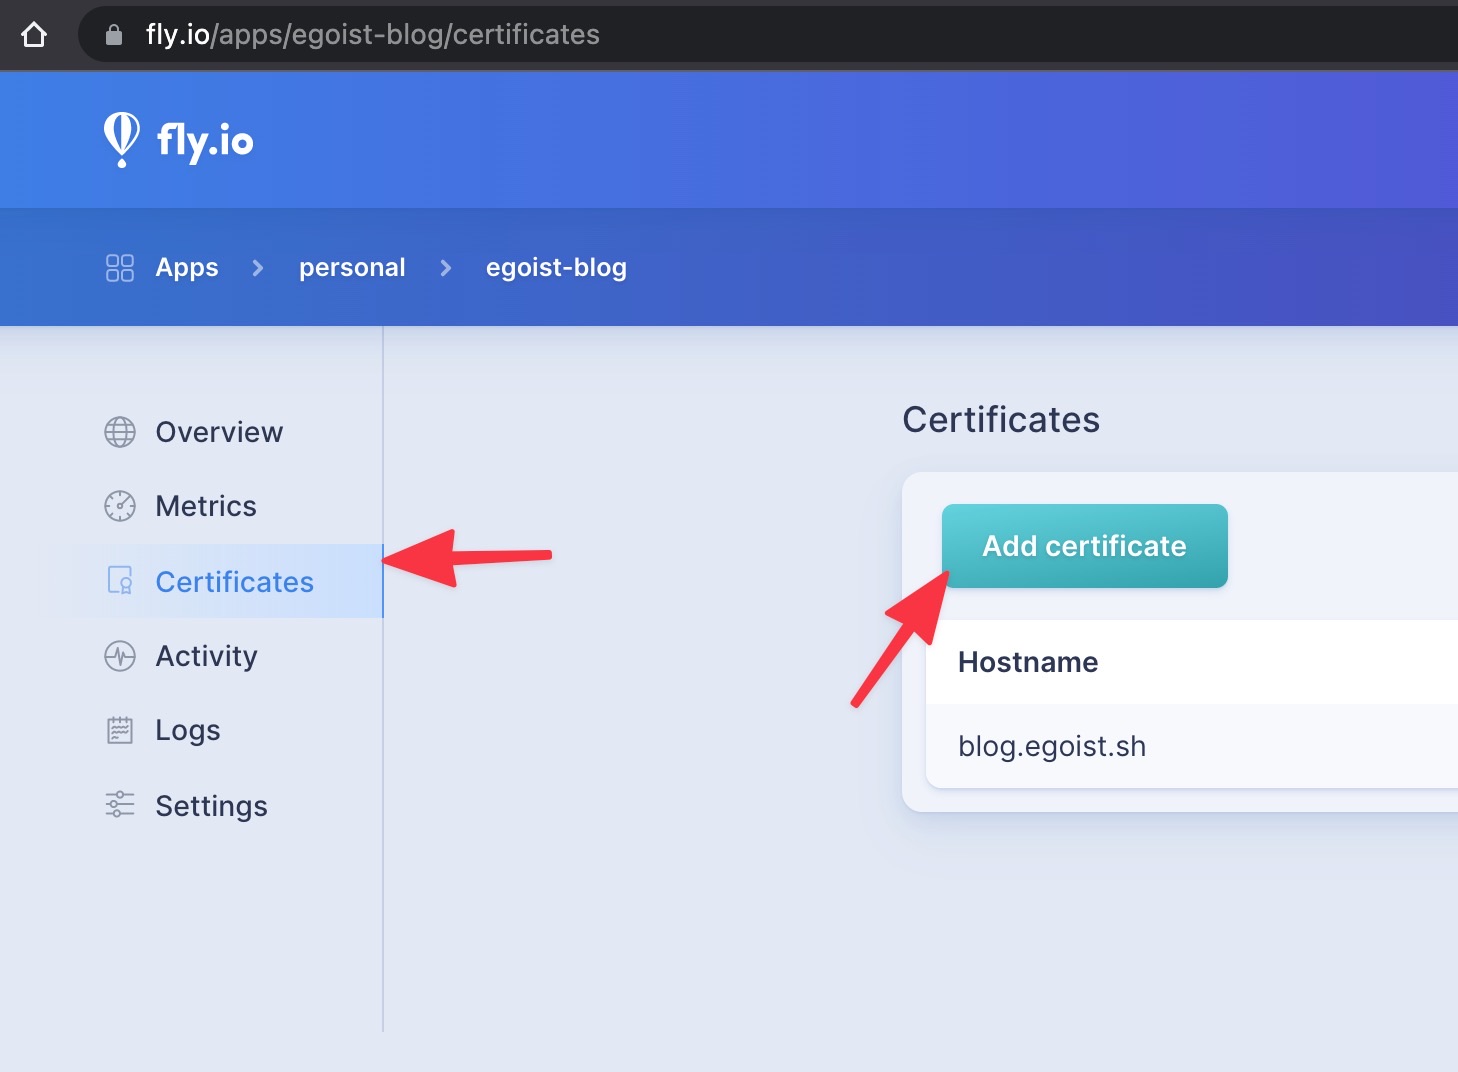
To add a custom domain to your blog, go to your Fly dashboard:
Make sure to update the url in fly.toml to your custom domain and re-deploy it.